It’s the Best Way to Brew Coffee without a Heat Source
This is more about practicality than enjoyment, but bear with me.
One of the hardest parts about brewing coffee in the wild is that you need a lot of consistent heat. You have to produce energy in some way to get the water to extract things from the coffee grounds quickly, which means you need to build a good fire or bring some kind of camp stove or single burner with you. It’s easy to spend a lot of time and weight on brewing hot coffee.
True cold brew coffee doesn’t need any heat, though. It just needs time. It’s a simpler and more versatile method of making coffee that can cut down on the weight you’re packing or become an acceptable alternative if something goes wrong with your gas stove.
It is arguably not as good as hot brewed coffee (unless you’re doing the hot bloom method), but making coffee while camping is always about making compromises between taste and the resources available.
Instructions For Cold Brew Coffee on a Camping Trip
I’m focusing on the immersion method of brewing here because it seems to me the one best suited to camping. If you want to get fancy you can do the hot bloom or flash brew method, but I have a hard enough time getting fancy at home, much less when I’m trying to work with hot coals or remember to measure ice out of the chest.
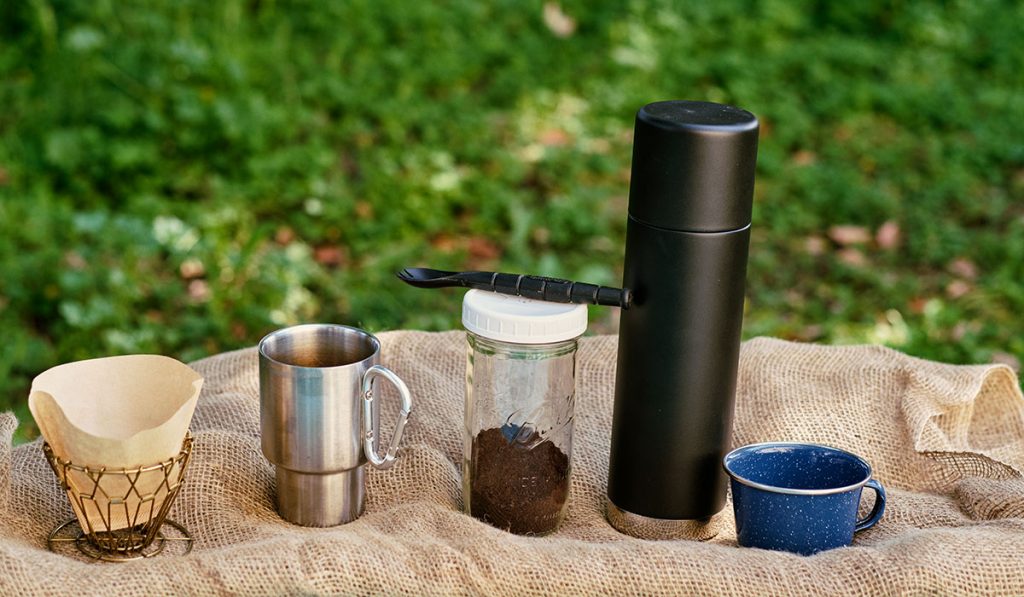
Things you’ll need to bring to make your cold brew coffee
- Cheese cloth or coffee filters
- Course-ground coffee
- Filtered water
- 2 containers (can be anything from mason jars to thermoses, but we’ll get more into that later)
You’ll only need these if you’re taking the DIY route, but even when we’re camping we live in a modern world. You can get dedicated cold brew stations, which we talk about some below.
Cold Brewing Steps
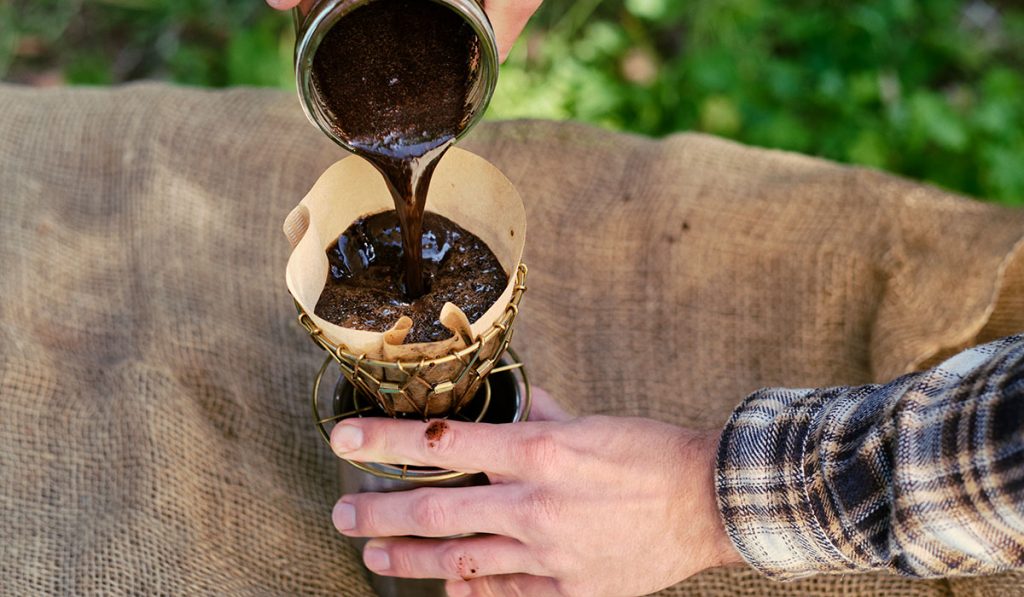
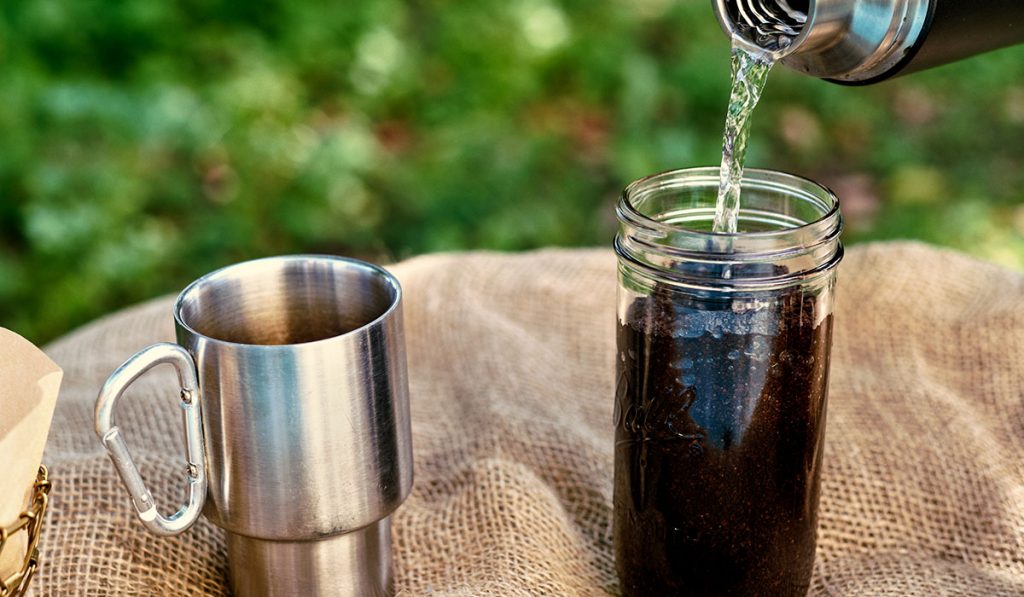
- Dump your coffee grounds into your first container and fill the rest of it up with water. No need to keep the water and grounds separate; you’ll filter the mixture later. You typically want about a 1:5 ratio of coffee to water, but as with any brewing method, the ratio is not a set rule. You’ll filter the grounds out when you pour it later.
- Seal the container and let it sit for 12 to 18 hours. Again, the time spent brewing is up to personal preference, but you should at least let it sit for 12 hours, and absolutely no longer than 24. Typically you would want to put it in a refrigerator, but room temperature is fine too, and for campers, sitting out overnight should get it plenty cold anyway (we’ll get into cooling methods later too.).
- After you’ve waited that marathon out, put your cheesecloth or coffee filter on the second container and pour the brewed contents of the first one into it. You’ll probably want to use a rubber band or a string to keep the filter in place if you’re using a mason jar for this. If you’re using something like a Chemex or other pour over method, though, this shouldn’t be a problem.
- Once you have the filtered coffee in the second container you can either serve it up or seal it and save it for later.
Tips for Better Flavor
So far I’ve given a basic rundown of making cold brew that you should be able to do easily enough in most camping situations. But cold brew leans heavy toward the bitter side, so if you do nothing but the basics you can end up with a pretty potent drink. There are some other simple but non-essential things you can do if you do to improve the flavor and mellow out the sharper flavors. Some don’t need anything extra, but others will require a little extra time or resources:
- Use lighter roasts, preferably with fruity undertones,
- Only add about half the water at first let it sit for about 5 minutes to let the grounds soak it all up,
- Strain the brew twice, once through a sieve and once through a coffee filter
- NOTE: Don’t press the coffee grounds after you strain the water from them (this will increase bitterness),
- Dampen the coffee filter before straining so it doesn’t soak up any of the cold brew mixture,
- Add water to the final brew to make it go a little farther and mellow out any bitter flavors that have come through (you can also use milk to add some body to the flavor if you brought any along).
About Measuring
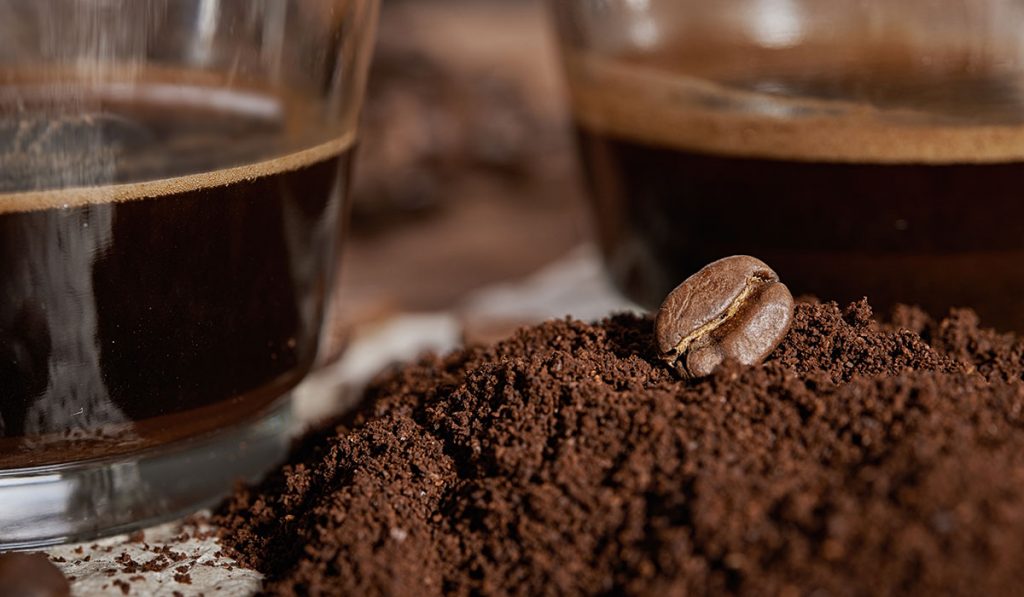
Serious home baristas will say you should really be measuring coffee with a scale, but no one wants to pack a scale into the mountains. To keep the cold brew method practical for camping purposes we need to learn how to measure things by the containers we’re using.
Since cold brew takes so much coffee, it’s possible to just eyeball the amounts. If you fill up a container with the coffee grounds about a fifth of the way then fill the rest with water you should end up with about the right amount of strength. If you want to be a little more precise, though, here’s a quick reference guide.
- 1 cup coffee (ground) : 5 cups of water
- 8 cups = 128 tbsps = 0.5 gallon
- Standard travel thermos (16 fl oz or 2 cups) – 4 tbsps (¼ cup) coffee : 16 fl oz water
- Half gallon mason jar (1.9 L or 8 cups) – 2.5 cups (40 tbsps) grounds coffee : 0.5 gallon
About the Cold Part
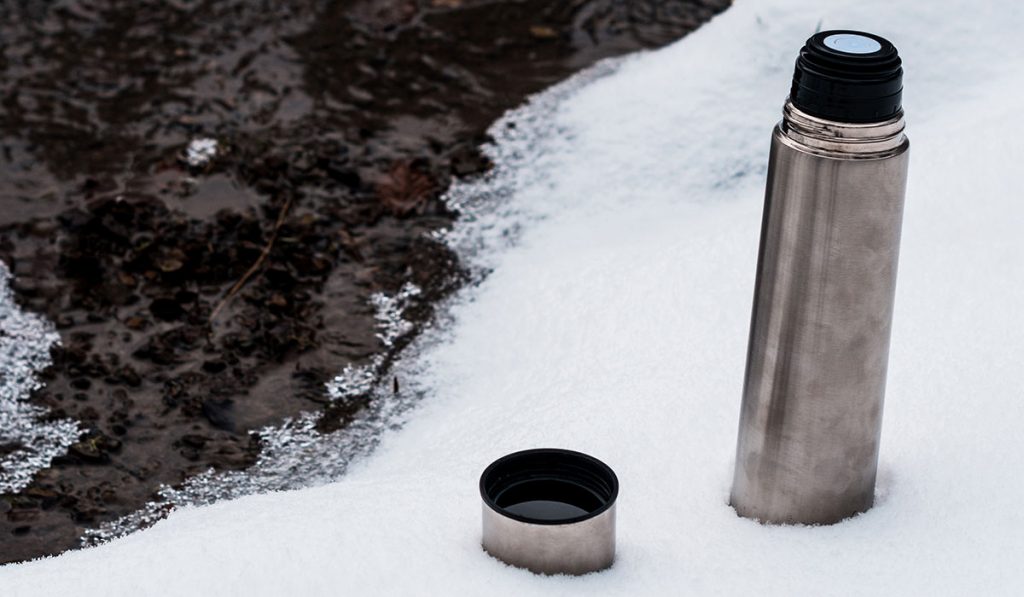
If you aren’t camping in the desert, at high elevation, or during winter it might not get cold enough at night for the coffee to get the same kind of cold that you’d typically want in a cold brew, especially if you’re brewing it in a well insulated container.
There are a couple ways you could try to lower the temperature in the wilderness.
If you’ve brought any kind of ice chest, that would be the easiest and most obvious way to go. But those can be bulky or just packed too tight at the start of a trip to fit a half gallon mason jar or thermos. So if there’s no room, or if you’re packing light, the next best thing is nearby bodies of water.
If your steeping container is stainless steel, you could tie a rope or fishing line around it and lower it down into a nearby lake or creek. In a lot of creeks near mountains, the water is usually at least partially snowmelt and can be pretty close to refrigerator temperatures. If you don’t trust your container to be totally water tight, you can double bag it in ziploc bags (you’ll probably need gallon sized for most thermoses).
If you’re still not sure about it, just leave it to the night air. It’s best not to risk getting lake or river water in your brew, especially when you aren’t boiling the water. There’s nothing too bad about settling for a cool brew. But in that case you should really make it in small batches that you can finish off in one to two days, because cold brew coffee will start to turn after a while.
Cold Brew While Backpacking
It should go without saying that you need a trustworthy watertight container to make cold brew coffee on a backpacking trip. Really the only way to make this work is if you brew the coffee while you’re hiking.
You at least want the coffee to steep for 12 hours, but that’s more on the weak side, so prepping it at night before you go to bed isn’t ideal. You could do it at the start of your day, but cold brews start becoming way too bitter going into the 24 hour range.
Probably the best time to get your brew going is half way through the day. Just take a break somewhere around midday and pour the water and coffee in your thermos. That should get you a nice 16 to 18 hour brew to wake up to in the morning.
Keeping the cold brew cold is even trickier, though, and you pretty much have to give yourself up to drinking cool or luke-warm coffee unless you sleep near a cold creek. If nature can’t provide enough cold, the best you can do is keep your brewing coffee in the middle of your pack to get as much insulation as possible, and keep to the shade whenever you can.
Things You Could Use
I’ve mentioned using sturdy, water-tight containers a few times already, but that’s not a requirement depending how you’re camping. Since we’re all a little different I’ve listed the different kinds of tools you can use to make cold brew.
French Press
Pros: Often durable, makes process simple with flavorful results
Cons: Most designs are stainless steel, grinds in coffee can be a problem
One of the best portable tools for making cold brew is some kind of camping French press. That way you won’t have to bring extra filers or containers. Just put in the coffee and water and let it sit overnight, then plunge it in the morning.
The problems of french press cold brew are the same as making hot coffee with it, though. Often you’ll end up with some grinds in the final cup. There’s also the added danger of having to leave the press out for several hours, which increases the risk of it getting tipped over at some point during the day. Ideally you would keep it in an ice chest while its brewing.
Also it probably goes without saying that you’re limited to making weaker cups if you’re backpacking. You can’t leave the plunger up in your pack, so you’re stuck with the strength you get from leaving the coffee just overnight.
Cold Brew Coffee Maker
Pros: Simple and reliable outcome, less waste and mess
Cons: Few watertight designs, often not as rugged
If you want to take a step past the french press, a dedicated cold brew coffee maker removes the step of plunging and usually gives you a cup with fewer grinds.
These usually have a reusable filter attachment that sits below the lid with some kind of spout so you can pour it all directly into your mug when you think enough time has passed. The most popular seems to be the Hario Cold Brew Coffee Maker, but there are plenty of others in all shapes and sizes out there in the market. Most of them are glass and few are water tight, but they do make the whole process much simpler and less prone to spilling.
Pour Over Coffee Maker
Pros: Lightweight, makes smooth coffee with no grinds.
Cons: Awkward to pack, some designs are either fragile or low volume
Easily the most popular choice in this category is the Chemex. This is what a lot of people use for cold brews at home. If you’re unfamiliar, it’s like a carafe designed as a pour over. You can’t use one to actually make the cold brew, but it does offer a great way to filter the grinds out of your brew. Since you use a coffee filter it creates an incredibly smooth coffee and it’s big enough to hold coffee for a few cups. The main problem is it’s glass, and not really designed for rough traveling. Certainly not a good backpacking option, and it’s a questionable use of space if you like to camp light.
There are a lot of other pour over coffee makers that are more durable, smaller, and generally more suited to camping, but the principles remain the same.
Mason Jars
Pros: Highly versatile
Cons: Can be bulky and heavy
The usefulness of a mason jar is really only limited by your imagination. If you have at least two of them you can both brew and filter the coffee. They come in a wide range of sizes with measurements marked up all the sides so you can adapt from making coffee for 1 or 2 to making coffee for 7 or 8 people pretty easily. And most of them are durable enough to survive a fall from a picnic table onto dirt (not that you should make a habit of testing that).
The larger half gallon sizes can get pretty bulky, especially if you’re trying to keep them empty for coffee brewing. I’d recommend filling them with water when you’re packing so you’re making use of the space and have some already prepped and filtered water when you’re ready to get the cold brew started.
Travel Mugs and Thermoses
Pros: Least likely to leak or break, compact designs
Cons: Can be heavy, often restricted to low volume brews
A sturdy, water-tight thermos is probably the best thing to use if you’re backpacking. They’re tough enough to survive getting thrown around a lot, and you should never have to worry about leaking so long as you have a thermos of decent quality.
Like, mason jars, thermoses can vary a lot in size, but most of them don’t have measurements labeled on the sides. You’ll have to eyeball your coffee to water ratio. Once you get your preferred amounts down, though, it’s only a matter of finding a good way to filter the brew, whether that’s a pour over straight into your mug or into another thermos.
We’ve talked some about glass and ceramic travel mugs, which should all work well enough and give you more pure flavors, but you are taking a risk with reduced durability.
It’s Not for Everyone, Including Me
The idea of a hot cup of coffee around the early morning campfire is at least half the reason I even go camping. So it hurts a little to think about pouring coffee out of a jar and sipping it cold in front of the fire. I wouldn’t even think about cold brew coffee unless I was desperate, and I probably wouldn’t recommend it as a first choice for backpacking.
For me, cold brew is a necessary solution if I run out of butane and can’t find any wood for a fire, or if I’m in a no-burn zone. It might be nice to have a bottle of cold brew waiting at the end of a hot day of hiking, but frankly I’d prefer a cold beer to coffee in that situation.
